Deploy a project from the Cloud IDE to Astro
The Cloud IDE is currently in Public Preview and it is available to all Astro customers. It is still in development and features and functionality are subject to change.
If you have any feedback, please submit it to the Astro Cloud IDE product portal.
After you create a project in the Cloud IDE, you can deploy it to Astro and run tasks on a schedule using one of the following options:
- Download your pipelines' Python files from the Cloud IDE, copy them to an existing Astro project, and deploy your project to Astro.
- Use the Astro Cloud IDE's built-in GitHub integration to commit your project to a GitHub repository and deploy it to Astro using a GitHub action.
Export your pipelines to a local Astro project
Astro Cloud IDE projects use the same structure as Astro projects created with the Astro CLI. You can download your pipeline code from the Astro Cloud IDE, copy it to an existing Astro project, and deploy that project to Astro using the Astro CLI.
Create an Astro project. See Create a project.
In the Cloud UI, select a Workspace and then click Cloud IDE.
Select the project you'd like to deploy.
Select a pipeline that you want to export.
Click Code, then click Download.
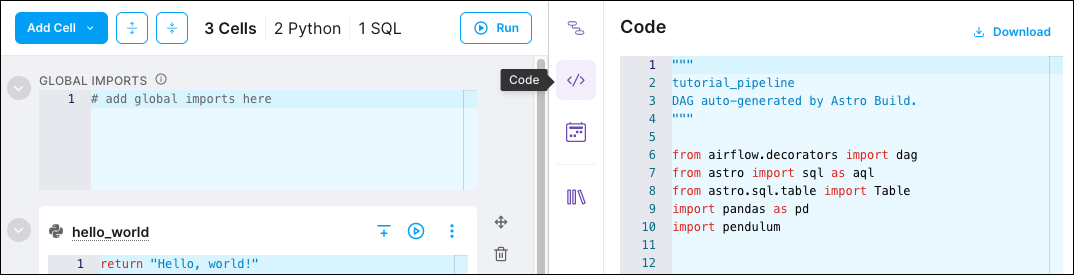
Add the downloaded Python file to the
dagsfolder of your Astro project.Manually configure the connections, dependencies, and variables from your Astro Cloud IDE project in your local Astro project. Automatic exporting for these resources coming soon.
Optional. Deploy your Astro project. See Deploy code.
Commit your project to GitHub
The Cloud IDE includes a robust GitHub integration for managing different versions and features of your Cloud IDE projects. Configuring GitHub is also the first step to deploying Cloud IDE project to Astro. Astronomer recommends one GitHub repository for every Cloud IDE project.
Prerequisites
- A Cloud IDE project. See the Quickstart.
- A GitHub account with a personal access token. See Creating a personal access token.
Setup
- In the Cloud UI, select a Workspace and then click Cloud IDE.
- Select the project you'd like to deploy.
- Click Configure.
- Enter your GitHub Personal Access Token and click Update.
- Enter your GitHub repository information.
- Click Update.
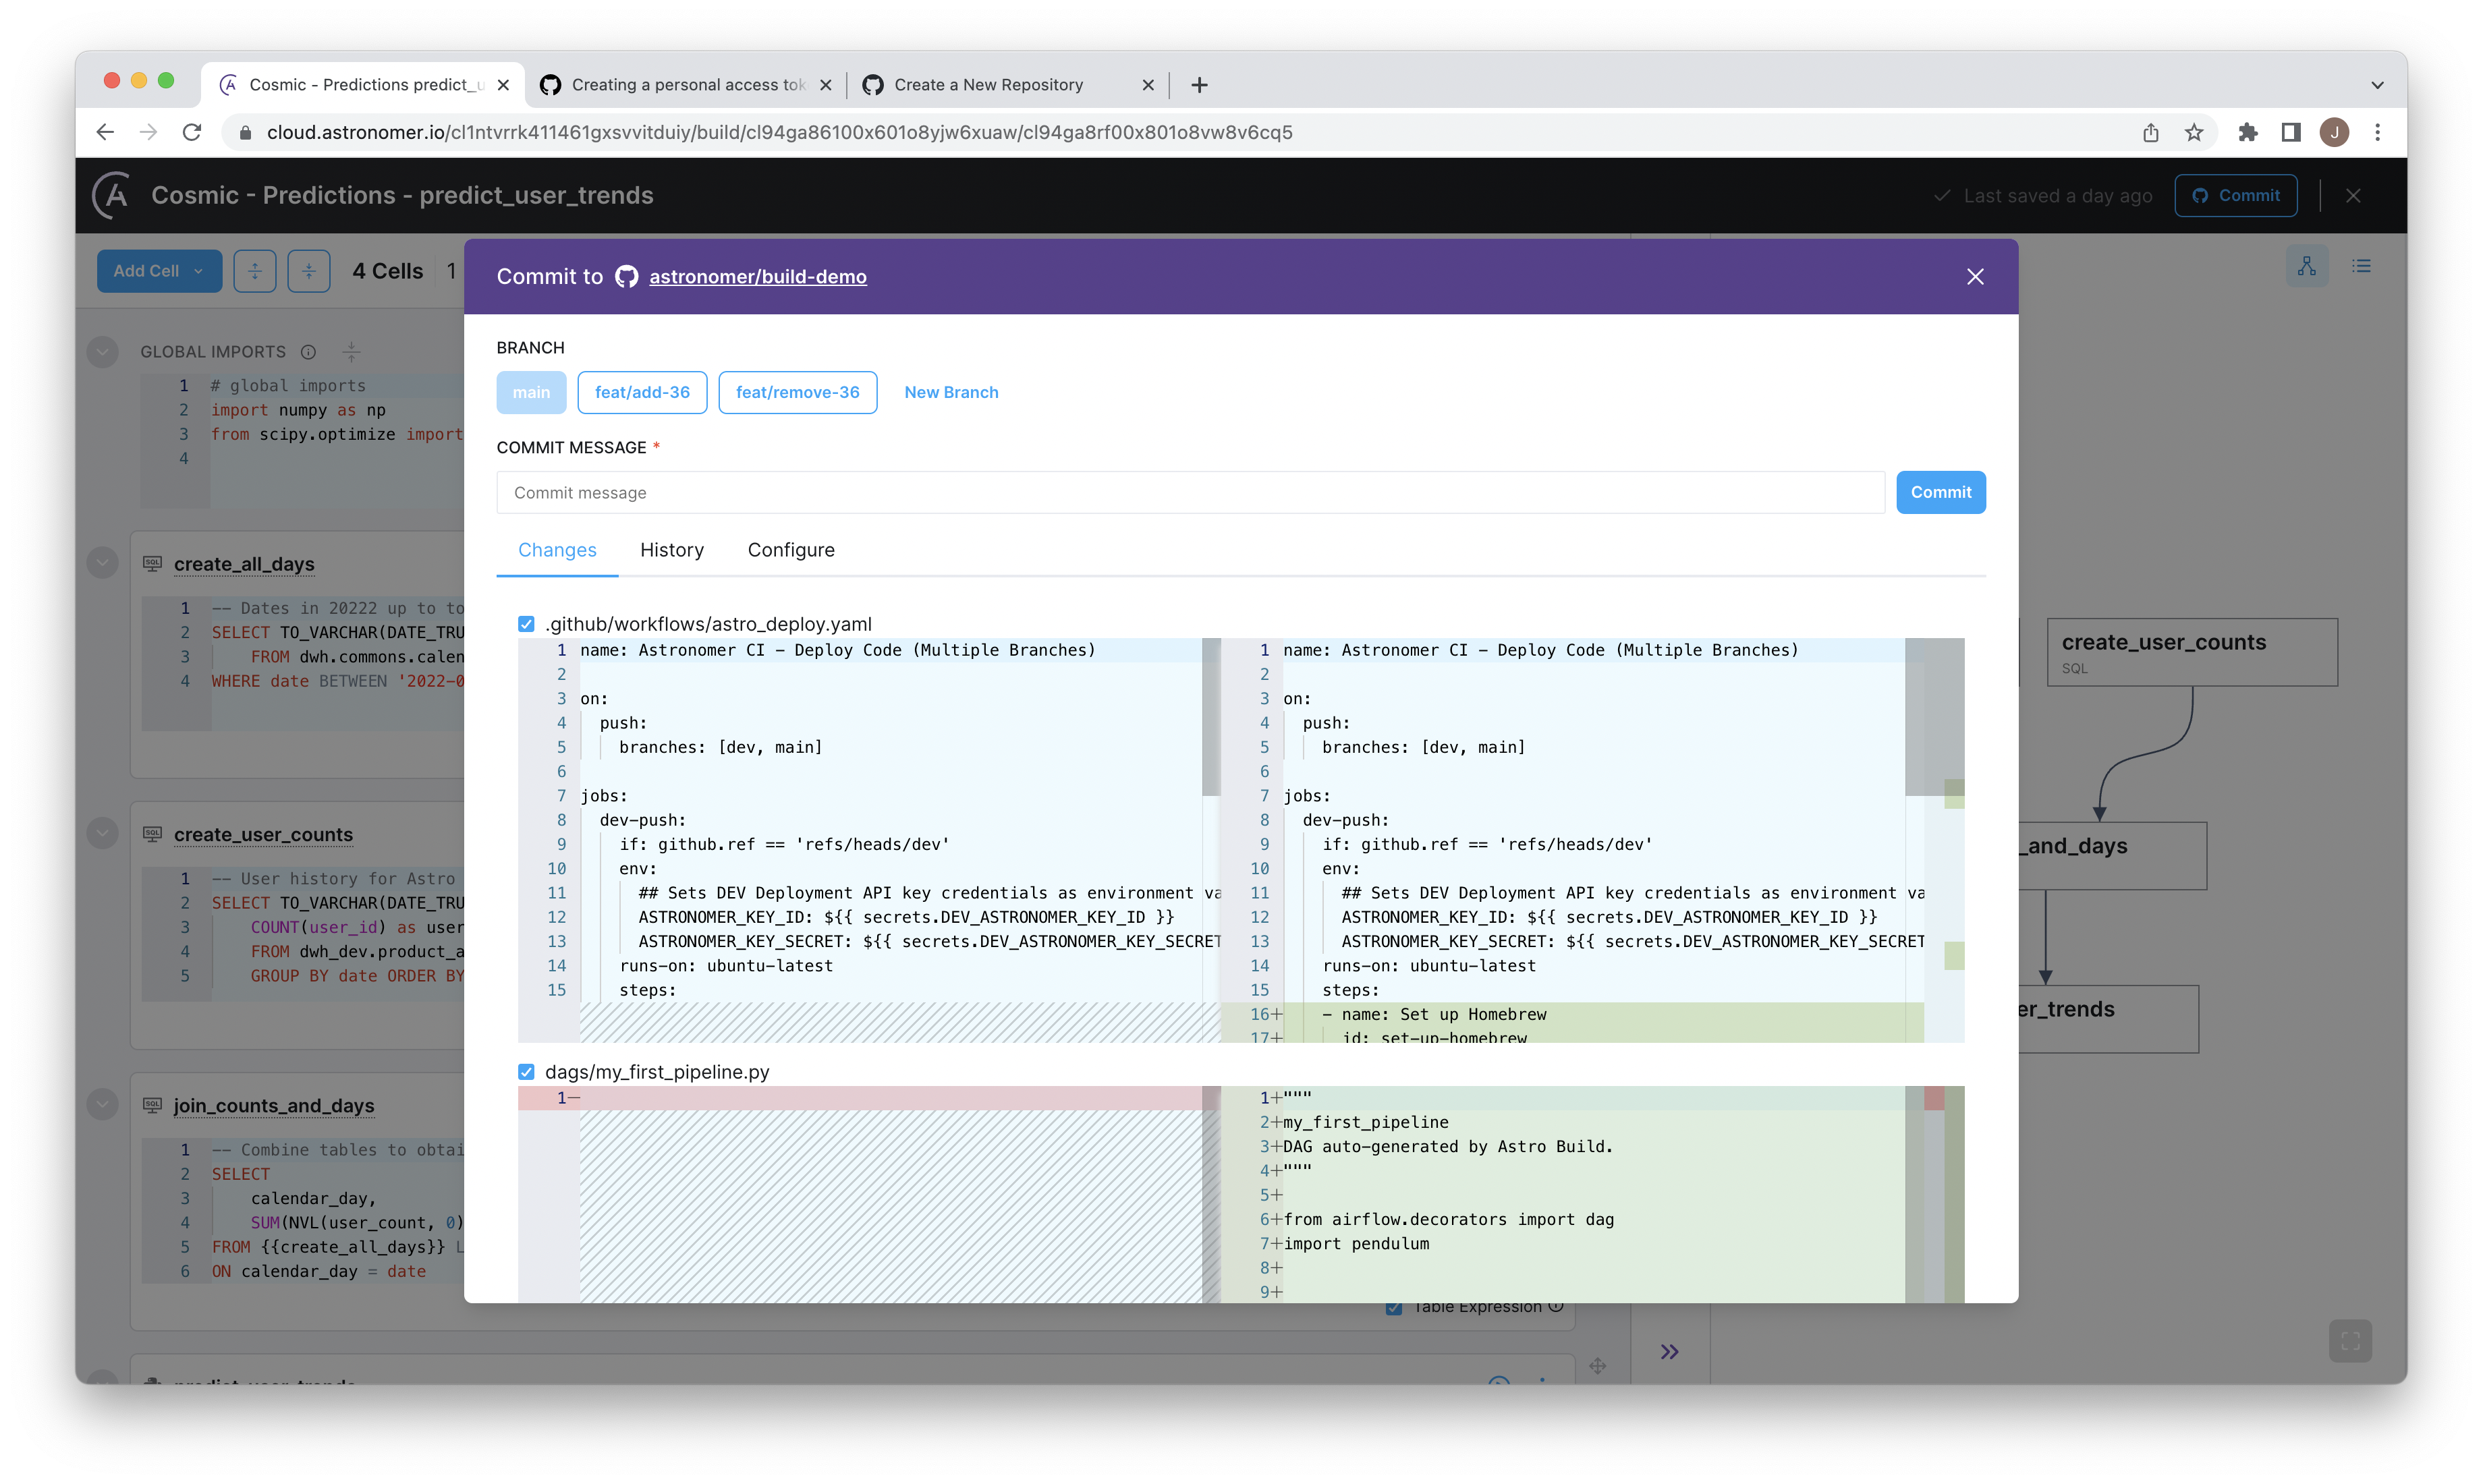
After you configure a GitHub repository, the Configure button in the Cloud IDE updates to Commit. You can now commit your changes to your repository.
- Click Commit.
- Click New Branch, then choose from either an existing branch or create a new branch.
- In the COMMIT MESSAGE field, enter a commit message. This will be the commit message for committing your changes from the Astro Cloud IDE to GitHub.
- Click Commit.
Deploy a project from GitHub to Astro
On the first GitHub commit of your project, the Astro Cloud IDE automatically pushes a Github action to your repository that includes steps for deploying to Astro. You can then configure your GitHub repository to push your Astro Cloud IDE project to a Deployment when you commit to specific branches.
You can commit changes from the Astro Cloud IDE to your GitHub repository without configuring Deployments in GitHub. However, there is currently no way to disable the GitHub Action that the Astro Cloud IDE pushes to your repository. If you don't complete the following steps, the GitHub Action fails and you can't deploy your changes to Astro, but the rest of your commit processes are successful.
The following steps describe how to set up GitHub to run the default GitHub action, which assumes one main and one dev branch. You can modify these steps and the GitHub action to deploy to any number of differently named Deployments.
Prerequisites
- A Cloud IDE Project. See the Quickstart.
- A GitHub account connected to your Cloud IDE project. See Commit your project to GitHub.
- A Deployment on Astro. See Create a Deployment.
Step 1: Link your Deployments to GitHub
The default GitHub action provided by the Astro Cloud IDE will:
- Deploy your Cloud IDE project to your development Deployment when you commit to a
devbranch. - Deploy your Cloud IDE project to your production Deployment when you commit to a
mainbranch.
These actions are not dependent on each other, meaning that you can modify the following steps to deploy only a single production or development Deployment.
Identify a Deployment for production and a Deployment for development. Note the Deployment ID for each Deployment. A Deployment's ID can be found in the URL when you select the Deployment in the Cloud UI. For example, if your Deployment URL is
https://cloud.astronomer.io/cku7t3fvx59046554xr4g0siv7r/deployments/cl9redx5196158bqytlww0mqz2/analytics, the Deployment ID iscl9redx5196158bqytlww0mqz2.Create a Deployment API key for your Deployments. See Create an API key. Note the API key and secret for each Deployment.
Configure the following GitHub secrets in your GitHub repository:
PROD_ASTRONOMER_KEY_ID=<your-prod-api-key-id>PROD_ASTRONOMER_KEY_SECRET=<your-prod-api-key-secret>PROD_ASTRONOMER_DEPLOYMENT_ID=<your-prod-astro-deployment-id>DEV_ASTRONOMER_KEY_ID=<your-dev-api-key-id>DEV_ASTRONOMER_KEY_SECRET=<your-dev-api-key-secret>DEV_ASTRONOMER_DEPLOYMENT_ID=<your-dev-astro-deployment-id>
After configuring your Github actions, commits from the Cloud IDE to your main or dev branches are automatically deployed to Astro.
Astronomer recommends creating a feature branch for every new pipeline and creating a pull request (PR) with new changes that merge into the dev branch. Merging the PR triggers a push to your development Deployment, where you can confirm that your data pipeline is functional. When you confirm your changes, submit a pull request from your dev branch into main. This deploys your tested changes to your production Deployment.
Step 2: Commit to Astro
After you configure a GitHub repository, the Configure button in the Cloud IDE updates to Commit. You can now commit your changes to your repository. You can also view the status of your repository and any changes that were committed from the Cloud IDE.
Open your project in the Astro Cloud IDE.
Click Commit.
In BRANCH, select a branch to commit to.
In COMMIT MESSAGE, enter a commit message. This will be the commit message for committing your changes from the Astro Cloud IDE to GitHub.
Click Commit
Your changes are automatically pushed to GitHub, then pushed to your configured Deployments.
Open your Deployments in the Cloud UI and click Open Airflow to confirm that your changes were successfully deployed.
You can select or deselect files to commit by clicking on the checkbox next to the file name. Commits are made at the project level, so by default, all files in your project will be committed. You cannot currently commit a single pipeline without committing the rest of your project.