Create an Astro project
To run Airflow pipelines on Astro, you first need to create an Astro project. An Astro project contains the set of files necessary to run Airflow, including dedicated folders for your DAG files, plugins, and dependencies. Once you've tested these files locally, the Astro project structure makes it easy to deploy your pipelines to Astro.
Prerequisites
Step 1: Create an Astro project
Create a new directory for your Astro project:
mkdir <your-astro-project-name>Open the directory:
cd <your-astro-project-name>Run the following Astro CLI command to initialize an Astro project in the directory:
astro dev initThis command generates the following files in the directory:
.
├── dags # Where your DAGs go
│   └── example-dag-basic.py # Example DAG that showcases a simple ETL data pipeline
|   └── example-dag-advanced.py # Example DAG that showcases more advanced Airflow features, such as the TaskFlow API
├── Dockerfile # For the Astro Runtime Docker image, environment variables, and overrides
├── include # For any other files you'd like to include
├── plugins # For any custom or community Airflow plugins
|   └── example-plugin.py
├── tests # For any DAG unit test files to be run with pytest
|   └── test_dag_integrity.py # Test that checks for basic errors in your DAGs
├── airflow_settings.yaml # For your Airflow connections, variables and pools (local only)
├── packages.txt # For OS-level packages
└── requirements.txt # For Python packages
This set of files will build into a Docker image that you can both run on your local machine and deploy to Astro.
Astro Runtime
Your Dockerfile includes a reference to Astro Runtime. Packaged into a Debian-based Docker image, Astro Runtime extends the Apache Airflow open source project to provide you with differentiated functionality that centers around reliability, efficiency, and performance. For more information on what's included in Runtime and how it's versioned, see Runtime versioning.
By default, the Docker image in your Dockerfile is:
FROM quay.io/astronomer/astro-runtime:6.0.3
Step 2: Build your project locally
To confirm that you successfully initialized an Astro project, run the following command from your project directory:
astro dev start
This command builds your project and spins up 4 Docker containers on your machine, each for a different Airflow component:
- Postgres: Airflow's metadata database
- Webserver: The Airflow component responsible for rendering the Airflow UI
- Scheduler: The Airflow component responsible for monitoring and triggering tasks
- Triggerer: The Airflow component responsible for running Triggers and signaling tasks to resume when their conditions have been met. The triggerer is used exclusively for tasks that are run with deferrable operators
If your project builds successfully, the Airflow UI automatically opens in your default webserver at https://localhost:8080/.
When you create an Astro project, the Astro CLI uses port 8080 for the Airflow webserver and port 5432 for the Airflow metadata database by default. If these ports are already in use on your local computer, an error message might appear. To resolve this error message, see Test and troubleshoot locally.
Step 3: Access the Airflow UI
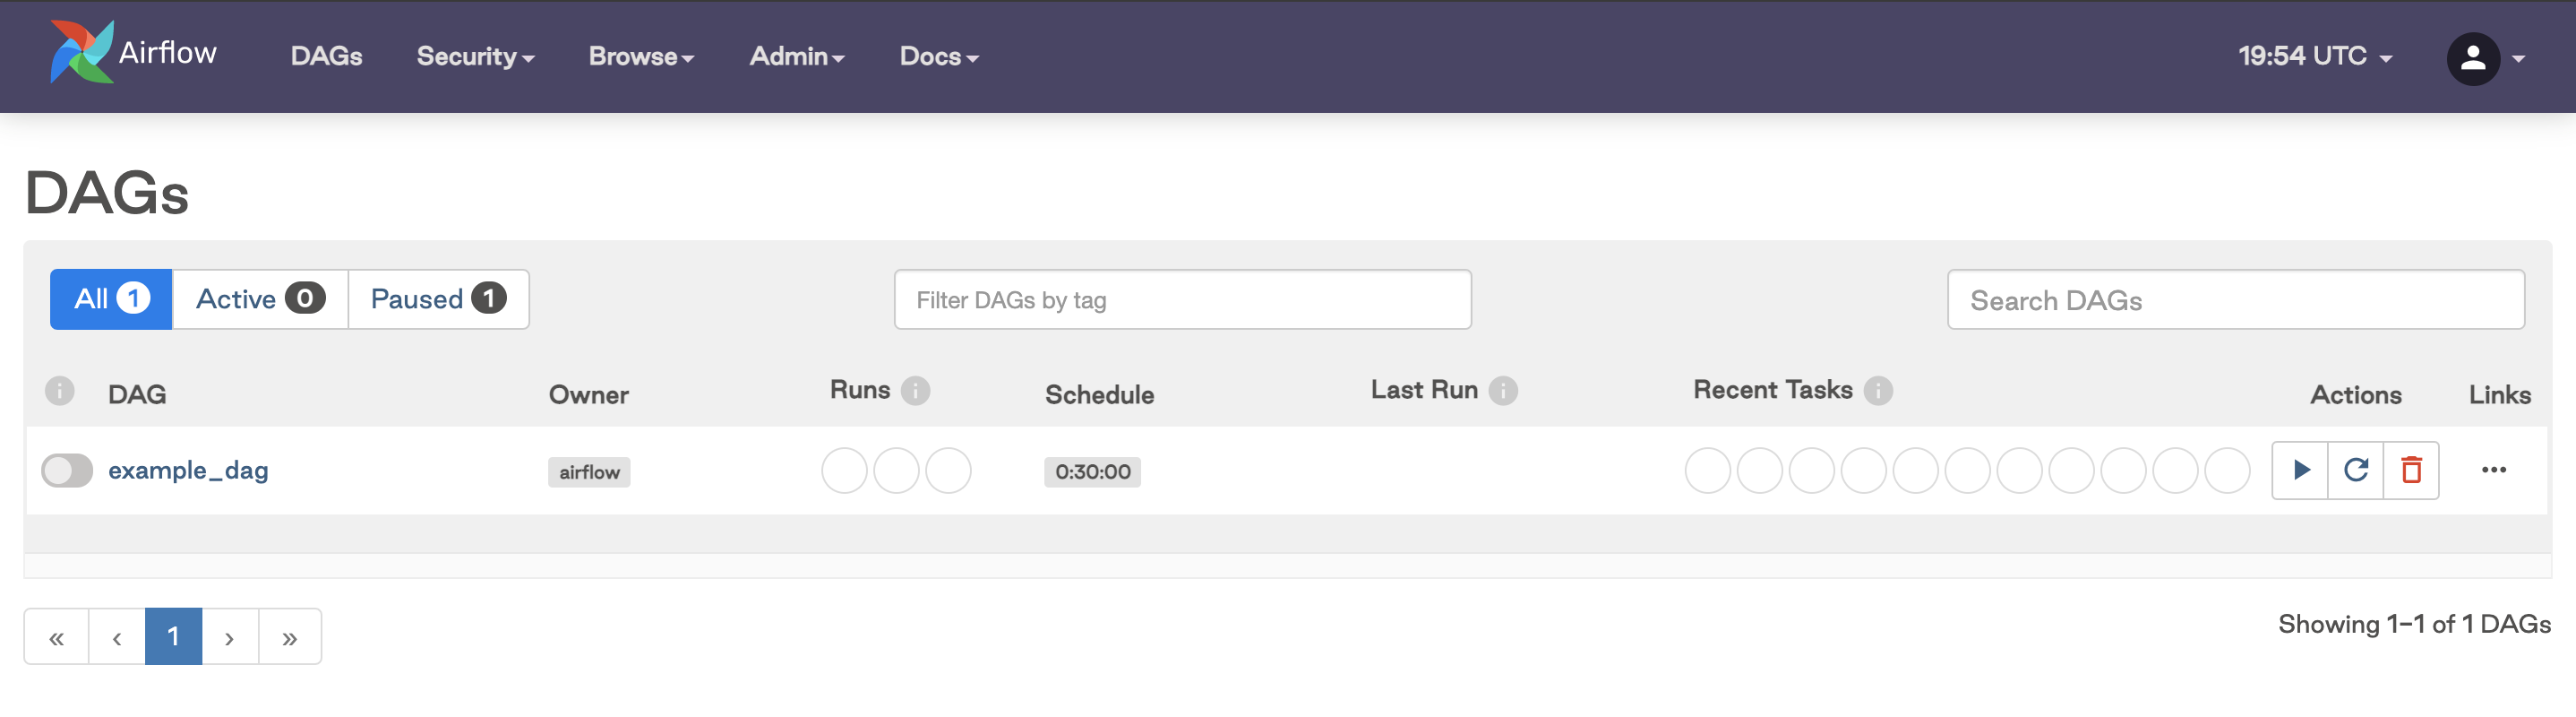
Once your project is running, you can access the Airflow UI by going to http://localhost:8080/ and logging in with admin for both your username and password.
It might take a few minutes for the Airflow UI to be available. As you wait for the webserver container to start up, you may need to refresh your browser.
After logging in, you should see the DAGs from your dags directory in the Airflow UI.