Manage Workspaces on Astro
Workspaces are collections of Deployments that can be accessed by a specific group of users. You can use Workspaces to group Deployments that share a business use case or environment trait. For example, you might create one Workspace that stores all of your production pipelines and another Workspace that stores all of your development pipelines.
Create a Workspace
To create a Workspace, you must have an Organization-level role.
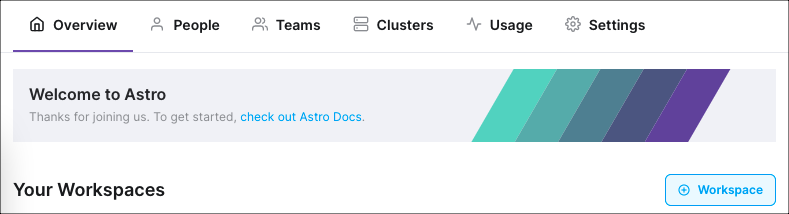
To create a Workspace, click the Add Workspace button from the Overview tab.
During this initial setup, you can configure a Workspace's name and description. All further Workspace configuration is completed in the Workspace view.
Workspace View
To to enter your Workspace, click the Workspace in the Overview tab. When you click into a Workspace and see a list of that Workspace's Deployments, you are in the Workspace view of the Cloud UI. The Workspace view contains several pages for managing your Workspace which are accessible from a sidebar on the left of the screen:
- Deployments: Create new Deployments and see key metrics about existing Deployments in the Workspace. For more information, see Create a Deployment.
- DAGs: View metrics about individual DAGs across your Workspace. For more information, see Deployment metrics.
- Workspace Settings: Update Workspace details, including Workspace user permissions, the Workspace name, and the Workspace description.
Manage Workspace Users
As a Workspace Admin, you can add or remove users from your Workspace at any time. Before adding a user, make sure that the user is an existing member of your Organization. If the user is not, invite them to Astro before following the steps below.
- In the Workspace view, go to the Access page.
- Click Add member.
- Specify the user's email and role within the Workspace. For more information about Workspace roles and permissions, see User permissions.
After adding the user, the user will see the Workspace listed on the Overview page of the Cloud UI. They will also appear as an active Workspace member in the Access tab. For more information about inviting users to Astronomer, see Add a user.
Update or Remove a Workspace User
In the Cloud UI, select a Workspace.
Click Workspace Settings.
Click Edit next to the user name:

Edit the user's name or role and then click Update Member.
Update Workspace details
- In the Cloud UI, select a Workspace.
- Click Workspace Settings and then click the Details tab.
- Click Edit Details, update the Workspace name or description, and then click Update.
Delete a Workspace
In the Cloud UI, select a Workspace.
Click Workspace Settings.
Click the option menu at the top of the page and select Delete Workspace. This option isn't available when there are active Deployments in the Workspace.

In the confirmation dialog, enter
deleteand then click Yes, Continue.